Responsable del tratamiento de tus datos personales
- Identidad del Responsable: BEATRIZ ROBLES HERNÁNDEZ (en adelante el titular)
- NIF/CIF: 72396060H
- Dirección: San Sebastián, Guipuzcoa
- Web: www.inkandpawprints.com (en adelante la web)
- Correo electrónico: hello@inkandpawprints.com (en adelante el correo de la web)
Hosting de la Web
- Hosting: OVH HISPANO SL (en adelante proveedor de hosting)
- Domicilio: C/ Alcalá 21, 5.ª planta, 28014 Madrid, España.
- OVH HISPANO SL trata los datos con la finalidad de realizar sus servicios de hosting a El Titular.
- Más información en www.ovh.es.
Gracias por visitar esta página web. El texto que tienes ante ti explica qué, cómo y por qué utilizo tu información cuando visitas esta web o contratas alguno de mis servicios. Tu privacidad es muy importante para mí, y nunca haré un uso indebido de la información personal que me confías. Te invito a leer detenidamente estos términos antes de facilitar tus datos personales en esta web.
Advertencia menor de edad
Los mayores de trece años podrán registrarse en la web como usuarios sin el previo consentimiento de sus padres o tutores.
En el caso de los menores de trece años se requiere el consentimiento de los padres o tutores para el tratamiento de sus datos personales.
En ningún caso se recabarán del menor de edad datos relativos a la situación profesional, económica o a la intimidad de los otros miembros de la familia, sin el consentimiento de éstos.
Si eres menor de trece años y has accedido a este sitio web sin avisar a tus padres no debes registrarte como usuario.
Tu privacidad y tus derechos se respetan en esta web
En esta web se respetan y cuidan los datos personales de los usuarios. Como usuario debes saber que tus derechos están garantizados.
Me he esforzado en crear un espacio seguro y confiable y por eso quiero compartir mis principios respecto a tu privacidad:
- Nunca solicito información personal a menos que realmente sea necesaria para prestarte los servicios que me requieras.
- Nunca comparto información personal de mis usuarios con nadie, excepto para cumplir con la ley o en caso que cuente con tu autorización expresa.
- Nunca utilizo tus datos personales con una finalidad diferente a la expresada en esta política de privacidad.
 Es preciso advertir que esta Política de Privacidad podría variar en función de exigencias legislativas o de autorregulación, por lo que se aconseja a los usuarios que la visiten periódicamente. Será aplicable en caso de que los usuarios decidan rellenar algún formulario de cualquiera de sus formularios de contacto donde se recaben datos de carácter personal.
El Titular ha adecuado esta web a las exigencias de la Ley Orgánica 15/1999, de 13 de diciembre, de Protección de Datos de Carácter Personal (LOPD), y al Real Decreto 1720/2007, de 21 de diciembre, conocido como el Reglamento de desarrollo de la LOPD. Cumple también con el Reglamento (UE) 2016/679 del Parlamento Europeo y del Consejo de 27 de abril de 2016 relativo a la protección de las personas físicas (RGPD), así como con la Ley 34/2002, de 11 de julio, de Servicios de la Sociedad de la Información y Comercio Electrónico (LSSICE o LSSI).
A efectos de lo previsto en el Reglamento General de Protección de Datos antes citado, los datos personales que me envíes a través de los formularios de la web, recibirán el tratamiento de datos de “Usuarios de la web y suscriptores”.
Para el tratamiento de datos mis usuarios implemento todas las medidas técnicas y organizativas de seguridad establecidas en la legislación vigente.
Principios que aplicaré a tu información personal
En el tratamiento de tus datos personales, aplicaré los siguientes principios que se ajustan a las exigencias del nuevo reglamento europeo de protección de datos:
- Principio de licitud, lealtad y transparencia: Siempre voy a requerir tu consentimiento para el tratamiento de tus datos personales para uno o varios fines específicos que te informaré previamente con absoluta transparencia.
- Principio de minimización de datos: Solo voy a solicitar datos estrictamente necesarios en relación con los fines para los que los requiero. Los mínimos posibles.
- Principio de limitación del plazo de conservación: los datos serán mantenidos durante no más tiempo del necesario para los fines del tratamiento, en función a la finalidad, te informaré del plazo de conservación correspondiente, en el caso de suscripciones, periódicamente revisaré mis listas y eliminaré aquellos registros inactivos durante un tiempo considerable.
- Principio de integridad y confidencialidad: Tus datos serán tratados de tal manera que se garantice una seguridad adecuada de los datos personales y se garantice confidencialidad. Debes saber que tomo todas las precauciones necesarias para evitar el acceso no autorizado o uso indebido de los datos de mis usuarios por parte de terceros.
Cómo se obtienen datos personales en esta web
Los datos personales que trato en la web proceden de:
- Formulario de contacto
- Formulario de suscripción a contenidos
¿Cuáles son tus derechos cuando me facilitas tus datos?
Cualquier persona tiene derecho a obtener confirmación sobre si en la web estoy tratando datos personales que me concierne, o no.
Las personas interesadas tienen derecho a:
- Solicitar el acceso a los datos personales relativos al interesado.
- Solicitar su rectificación o supresión.
- Solicitar la limitación de su tratamiento.
- Oponerse al tratamiento.
- Solicitar la portabilidad de los datos.
 Los interesados podrán acceder a sus datos personales, así como a solicitar la rectificación de los datos inexactos o, en su caso, solicitar su supresión cuando, entre otros motivos, los datos ya no sean necesarios para los fines que fueron recogidos.
En determinadas circunstancias, los interesados podrán solicitar la limitación del tratamiento de sus datos, en cuyo caso únicamente los conservaré para el ejercicio o la defensa de reclamaciones.
En determinadas circunstancias y por motivos relacionados con su situación particular, los interesados podrán oponerse al tratamiento de sus datos. El Titular dejará de tratar los datos, salvo por motivos legítimos imperiosos, o el ejercicio o la defensa de posibles reclamaciones. También podrán solicitar la portabilidad de sus datos.
Los interesados también tendrán derecho a la tutela judicial efectiva y a presentar una reclamación ante la autoridad de control, en este caso, la Agencia Española de Protección de Datos, si consideran que el tratamiento de datos personales que le conciernen infringe el Reglamento.
¿Con qué finalidad trato tus datos personales?
Cuando un usuario se conecta con esta web por ejemplo para comentar un post, mandar un correo al titular, suscribirse o realizar alguna contratación, está facilitando información de carácter personal de la que es responsable el Titular. Esa información puede incluir datos de carácter personal como pueden ser tu dirección IP, nombre, dirección física, dirección de correo electrónico, número de teléfono, y otra información. Al facilitar esta información, el usuario da su consentimiento para que su información sea recopilada, utilizada, gestionada y almacenada por el Titular, sólo como se describe en el aviso legal y en la presente Política de Privacidad.
En la web existen diferentes sistemas de captura de información personal y trato la información que me facilitan las personas interesadas con el siguiente fin por cada sistema de captura (formularios):
- Formulario de contacto: Solicito los siguientes datos personales: nombre, email, teléfono, asunto, mensaje. Para responder a los requerimientos de los usuarios de la web. Por ejemplo, puedo utilizar esos datos para responder a tu solicitud y dar respuesta a las dudas, quejas, comentarios o inquietudes que pueda tener relativas a la información incluida en la web, los servicios que se prestan a través de la web, el tratamiento de sus datos personales, cuestiones referentes a los textos legales incluidos en la web, así como cualesquiera otras consultas que pueda tener y que no estén sujetas a las condiciones de contratación. Te informo que los datos que me facilitas estarán ubicados en los servidores del proveedor de hosting del titular dentro de la UE.
- Formulario de suscripción a contenidos: En este caso, solicito los siguientes datos personales: nombre, email para gestionar la lista de suscripciones, enviar boletines, promociones y ofertas especiales, facilitados por el usuario al realizar la suscripción. Dentro de la web existen varios formularios para activar la suscripción. Los boletines electrónicos o newsletter están gestionados por MailChimp. Al utilizar los servicios de esta plataforma para la realización de campañas de marketing por correo electrónico, gestión de suscripciones y envío de boletines, debes saber que MailChimp tiene sus servidores alojados fuera de la UE en EEUU en esta en privacy shield: “está acogido al acuerdo EU-US Privacy Shield, cuya información está disponible aquí, aprobado por el Comité Europeo de Protección de Datos”. Al realizar una suscripción, aceptas y consientes que tus datos sean almacenados por esta plataforma, con sede en Estados Unidos a fin de gestionar el envío de los boletines correspondientes.
Existen otras finalidades por la que trato tus datos personales:
- Para garantizar el cumplimiento de las condiciones de uso y la ley aplicable. Esto puede incluir el desarrollo de herramientas y algoritmos que ayudan a esta web a garantizar la confidencialidad de los datos personales que recoge.
- También se recogen otros datos no identificativos que se obtienen mediante algunas cookies que se descargan en el ordenador del usuario cuando navega en esta web que se detallan en la política de cookies.
- Para gestionar las redes sociales. El Titular puede tener presencia en redes sociales. El tratamiento de los datos que se lleve a cabo de las personas que se hagan seguidoras en las redes sociales de las páginas oficiales de el titular se regirá por este apartado. Así como por aquellas condiciones de uso, políticas de privacidad y normativas de acceso que pertenezcan a la red social que proceda en cada caso y aceptadas previamente por el usuario de la web. Tratará sus datos con las finalidades de administrar correctamente su presencia en la red social, informando de actividades, productos o servicios de la web. Así como para cualquier otra finalidad que las normativas de las redes sociales permitan. En ningún caso utilizaré los perfiles de seguidores en redes sociales para enviar publicidad de manera individual.
De acuerdo a lo establecido en el reglamento general de protección de datos europeo (RGPD) 2016/679, el titular será responsable del tratamiento de los datos correspondientes a usuarios de la web y suscriptores.
El titular, no vende, alquila ni cede datos de carácter personal que puedan identificar al usuario, ni lo hará en el futuro, a terceros sin el consentimiento previo. Sin embargo, en algunos casos se pueden realizar colaboraciones con otros profesionales, en esos casos, se requerirá consentimiento a los usuarios informando sobre la identidad del colaborador y la finalidad de la colaboración. Siempre se realizará con los más estrictos estándares de seguridad.
Legitimación para el tratamiento de tus datos
La base legal para el tratamiento de sus datos es: el consentimiento.
Para contactar o realizar comentarios en esta web se requiere el consentimiento con esta política de privacidad.
La oferta prospectiva o comercial de productos y servicios está basada en el consentimiento que se le solicita, sin que en ningún caso la retirada de este consentimiento condicione la ejecución del contrato de suscripción.
Categoría de datos
Las categorías de datos que se tratan son:
- Datos identificativos, concretamente nombre, apellidos, DNI, teléfono y correo electrónico.
No se tratan categorías de datos especialmente protegidos.
¿Por cuánto tiempo conservaré tus datos?
Los datos personales se conservarán siguiendo el siguiente criterio:
- Hasta que no se solicite su supresión por el interesado
¿A qué destinatarios se comunicarán tus datos?
Muchas herramientas que utilizo para gestionar tus datos son contratados por terceros.
Para prestar servicios estrictamente necesarios para el desarrollo de la actividad, la web, comparte datos con los siguientes prestadores bajo sus correspondientes condiciones de privacidad.
Los datos se comunicarán a las empresas utilizadas para prestar los servicios estrictamente necesarios para el desarrollo de su actividad, la web, comparte datos con los prestadores bajo sus correspondientes condiciones de privacidad.
Secreto y seguridad de los datos
El Titular se compromete en el uso y tratamiento de los datos incluidos personales de los usuarios, respetando su confidencialidad y a utilizarlos de acuerdo con la finalidad del mismo, así como a dar cumplimiento a su obligación de guardarlos y adaptar todas las medidas para evitar la alteración, pérdida, tratamiento o acceso no autorizado (Cómo los protocolos https que utilizo), de conformidad con lo establecido en la normativa vigente de protección de datos.
El Titular no puede garantizar la absoluta inexpugnabilidad de la red Internet y por tanto la violación de los datos mediante accesos fraudulentos a ellos por parte de terceros.
Exactitud y veracidad de los datos
Como usuario, eres el único responsable de la veracidad y corrección de los datos que remitas a la web exonerando a el titular de cualquier responsabilidad al respecto. Los usuarios garantizan y responden, en cualquier caso, de la exactitud, vigencia y autenticidad de los datos personales facilitados, y se comprometen a mantenerlos debidamente actualizados. El usuario acepta proporcionar información completa y correcta en el formulario de contacto o suscripción.
Aceptación y consentimiento
El usuario declara haber sido informado de las condiciones sobre protección de datos de carácter personal, aceptando y consintiendo el tratamiento de los mismos por parte de el titular en la forma y para las finalidades indicadas en esta política de privacidad
Cambios en la política de privacidad
El titular se reserva el derecho a modificar la presente política para adaptarla a novedades legislativas o jurisprudenciales, así como a prácticas de la industria. En dichos supuestos, el Prestador anunciará en esta página los cambios introducidos con razonable antelación a su puesta en práctica.
Correos comerciales
De acuerdo con la LSSICE, la web no realiza prácticas de SPAM, por lo que no envía correos comerciales por vía electrónica que no hayan sido previamente solicitados o autorizados por el usuario. En consecuencia, en cada uno de los formularios habidos en la web, el usuario tiene la posibilidad de dar su consentimiento expreso para recibir el boletín, con independencia de la información comercial puntualmente solicitada.
Conforme a lo dispuesto en la Ley 34/2002 de Servicios de la Sociedad de la Información y de comercio electrónico, la web se compromete a no enviar comunicaciones de carácter comercial sin identificarlas debidamente.
Dudas o consultas sobre esta política o tus derechos
Si tienes alguna pregunta o comentario sobre esta política, o si tienes alguna inquietud sobre la forma en que se ha podido gestionar alguna información personal que me hayas proporcionado, puedes contactarme por correo postal o correo electrónico al correo de la web.






 It should be noted that this Privacy Policy could vary depending on legislative or self-regulation requirements, so users are advised to visit it periodically. It will be applicable in the event that users decide to fill in any form of any of their contact forms where personal data is collected.
 Those interested can access your personal data, as well as to request the rectification of inaccurate data or, where appropriate, request its deletion when, among other reasons, the data is no longer necessary for the purposes for which it was collected.
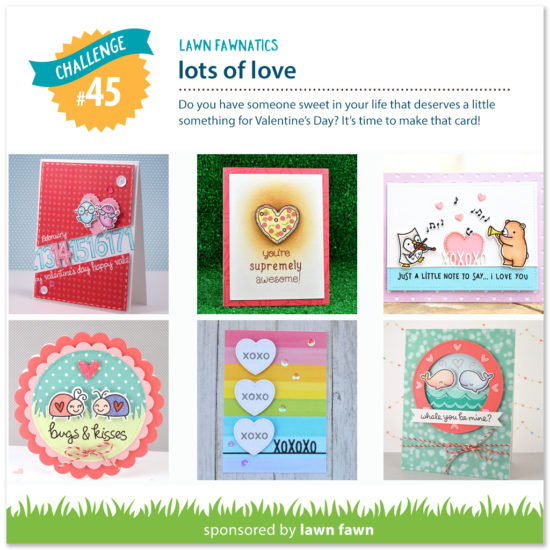
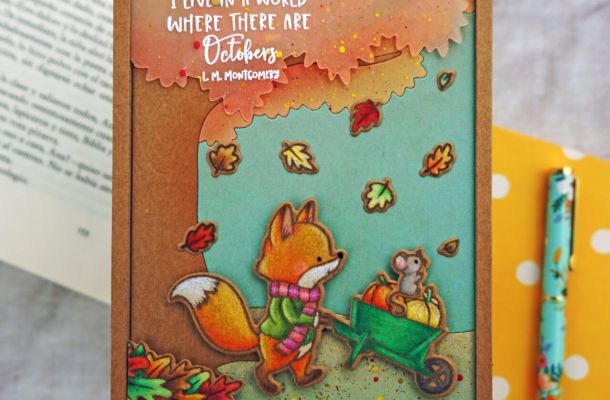
Such a super adorable card and such a fabulous design! Thank you so much for sharing your talent with us at the Lawnfawnatics Challenge! /Karin
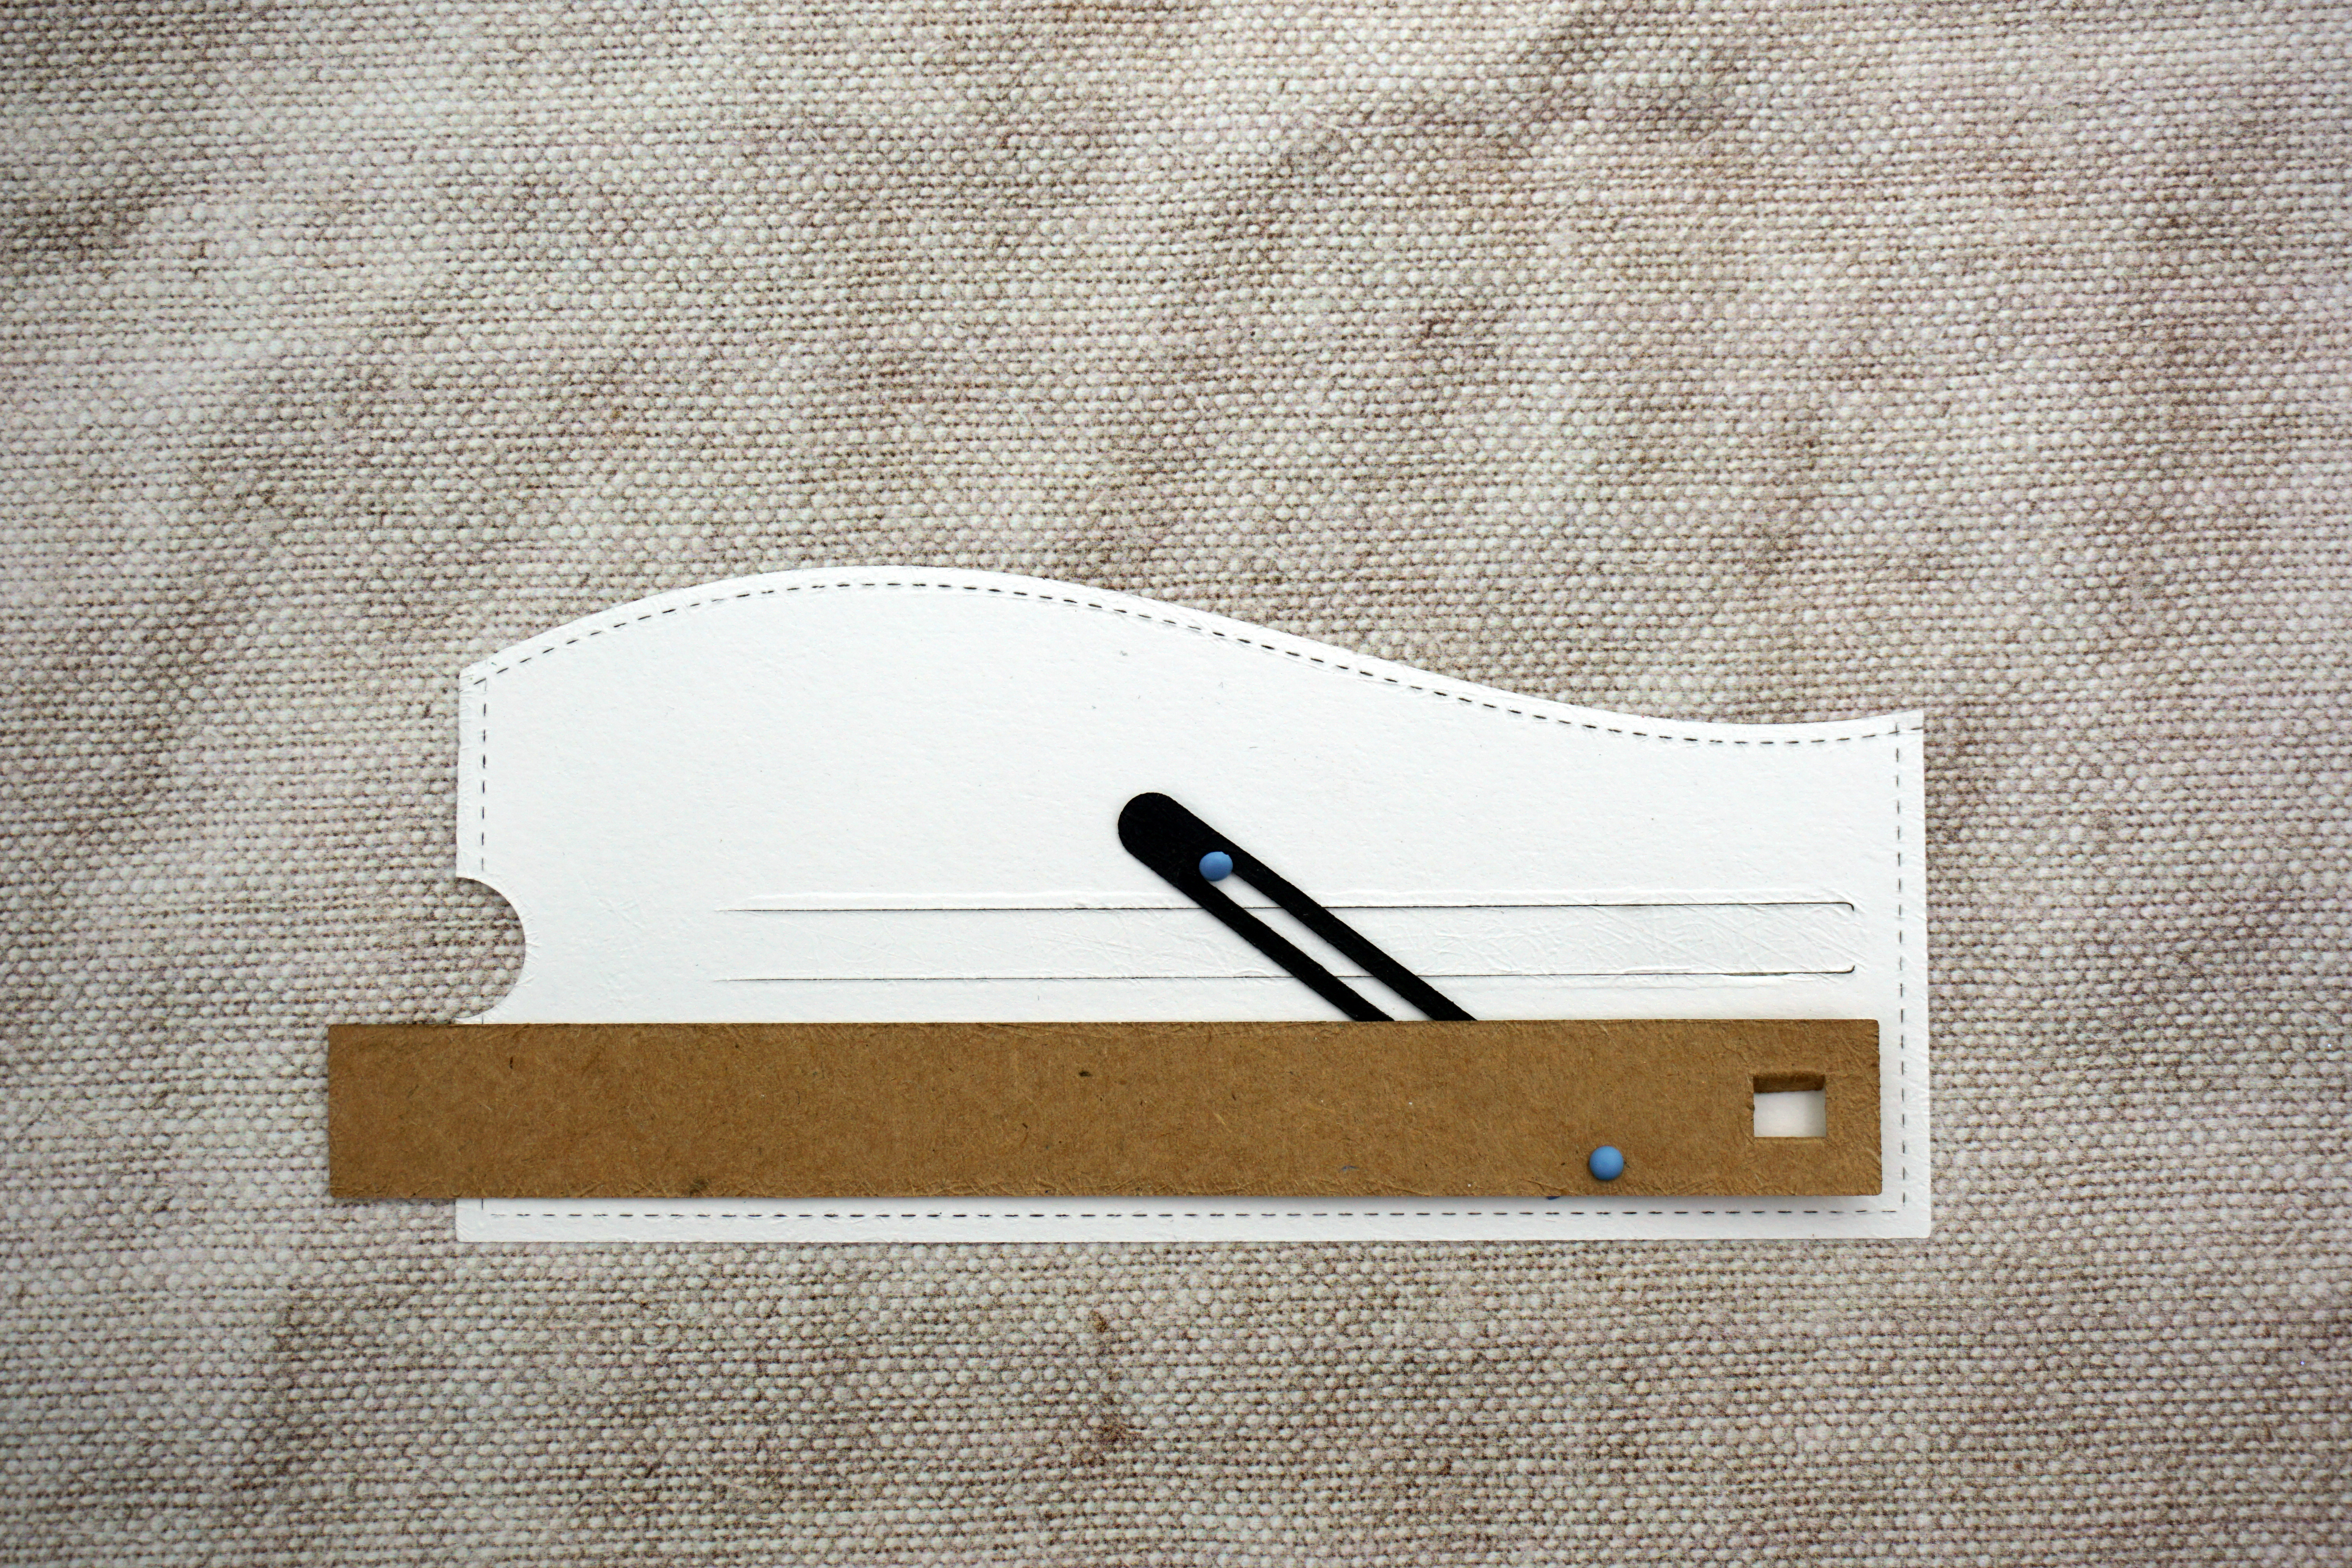
[…] you a card featuring Lawn Fawn stamps and dies. I had the idea for this card when I made the Kissing Seals Card, and the current Lawn Fawnatics Challenge was the perfect pretext to make it! This time I used a […]
WOW! Thanks for sharing!
Thank you very much!!! 🙂
Love this kind of card! Wonderful!